We all have a little crafty bug inside us. Don’t we? Arts and crafts are so much fun; no one would want to miss them. They are incredibly relaxing too. But many of us are deprived of this pleasure because of our busy lives. We hardly get any time to spend with our family, let alone crafts.
If you are one of them, this is the time to master your favorite craft or to learn something new. Woodworking can be a great option. You can make some fantastic pieces by polishing this skill. Whether you are just starting out or have already mastered it, it never seems boring. This article will give you some fresh new project ideas you can try.
Multi-Colored Chopping Board
Chopping boards are an everyday essential. They may seem very boring, but you can jazz them up if you want. You can make simple chopping boards if you want to go basic, but a multi-colored chopping board is very chic yet classy. They can bring a refreshing new aesthetic to your kitchen.
To make this chopping board, you can use any scraps of wood you have lying around. The other things you will need are wood glue and some food-safe varnish. Just stick all the wood scraps in a row until you are happy with the size. After the glue dries, you can fix the shape if needed and make the edges rounded. You need to sand it well and then add the varnish. When the varnish dries, wash it well, and it’s ready to use.
Serving Tray
Serving trays are a kitchen staple too. Everyone should have a pretty serving tray as it reflects your taste and helps you to create a good impression on your guests. What could be a better way of self-expression than serving on your own handmade serving tray?
If you are making the multi-colored chopping board mentioned previously, you can make the serving tray along with it. The process is exactly the same. You just have to follow some extra steps to turn it into a serving tray. Just get some handles from your local crafts store and attach them with screws.
Magazine Organizer
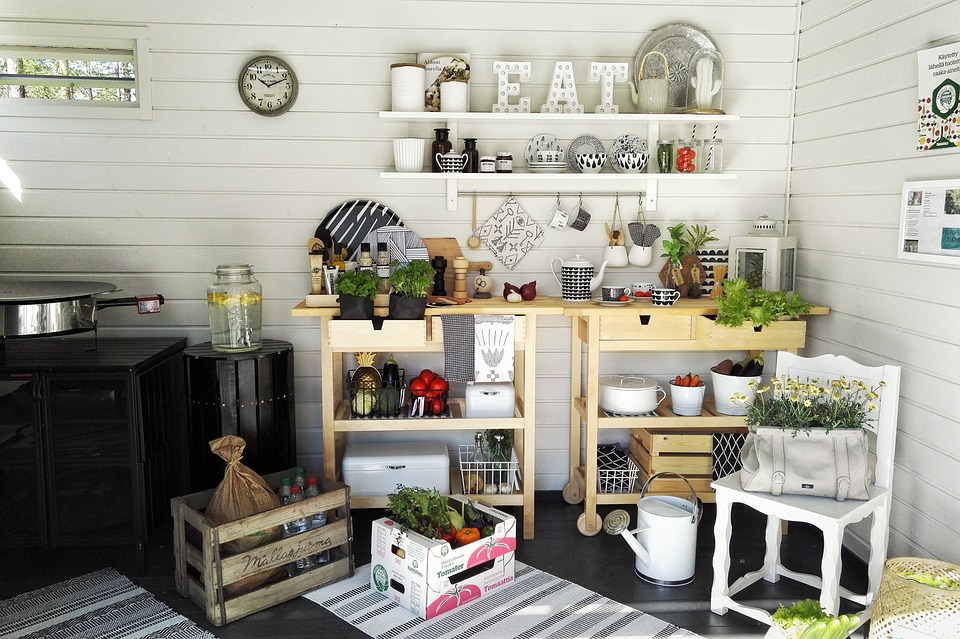
Magazine holders or organizers are a very easy yet productive project. They can easily jazz up your living room or bedroom. And most importantly, they will keep your magazines and important papers tidy.
If you wish to make one, first you have to get wood boards in your desired color or finish. Then you have to cut the boards in precise sizes. You can find many magazine organizer tutorials online. You can find the measurements on any of the tutorials. Cut the boards using table saws accordingly. Then join the pieces using wood glue, and you are good to go.
Coat Or Hat rack
A rack can help you organize your hallways and keep your hats and coats organized. If you don’t have one, you don’t need to rush to the supermarket to get one because you can make it yourself. When you make it on your own, you can customize it as per your needs, and it will actually cost less than the market price.
This has to be one of the easiest projects. All you need to do is cut a wood board using a table saw. You can cut it according to the wall you want to fit it in. Then you can color it as you want and attach as many hooks as you need. Finish it up with a coat of varnish.
Address Wall Planter
This is a very common and beginner-friendly project. This may seem very easy, but the outcome speaks loud. This project will let people know woodworking artists live here without even entering. Because it’s a planter, you can plant any plant you want. The greenery next to wood looks effortlessly modern and rustic.
If you wish to make an address wall planter, you need to get a wooden board, a fence picket, and metal numbers, and alphabets to match your address. First, cut the board to your desired size and attach the fence and the metal numbers with screws. Then you can add clear varnish or give it some personalized touches if you want. Then you are ready to plant your favorite plant and then hang it as you need.
Storage Box
This project requires a bit more skills than the first ones. But the results are worth your efforts. This project allows you to make a multi-purpose storage box. You can store absolutely anything you want in it. And the best part is, you get a lot of creative freedom here. You can decorate the box with your favorite colors, stickers, and embellishments.
You should definitely search online for a tutorial before you start this project. You can find many tutorials that clearly state the measurements. Chop your wood boards as directed, then you can use wood glue and nails to put it all together. Paint it as you like and finish it off with some clear varnish.
Picnic Table
This is the largest among all the mentioned projects, but it’s beginner-friendly as well. Even if you need a bit more time to get it done, it surely makes you proud after you finish it. You can display it on your lawn, and it will give you a holiday vibe. You can even sell it if you want.
To make the table, you’ll need some thick wood boards made for outdoor furniture, some rods, and wood screws. First, cut the board using a table saw. The steps are pretty basic. You need to cut them as required and join the pieces. You will need a drill to fit the screws. After you put it all together, make sure to sand it well and then vanish off with your favorite varnish.
It would be better if you attempt a few other projects before you do this one. You may not get the best results if you choose this one as your very first project.
To Conclude
If you are a beginner, you may not get the perfect finish in the first attempt. But don’t give up. Regular practice will surely make you a pro.