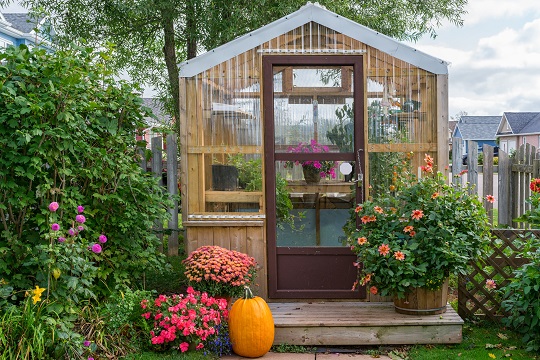
Wooden greenhouses are a great addition to any home. The treated timber construction will hold up for many seasons and is regarded to be weather-resistant. Most people prefer the look of a wooden greenhouse because it can supplement beauty to any property.
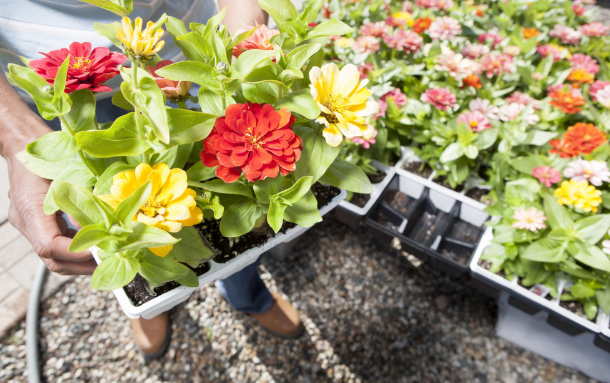
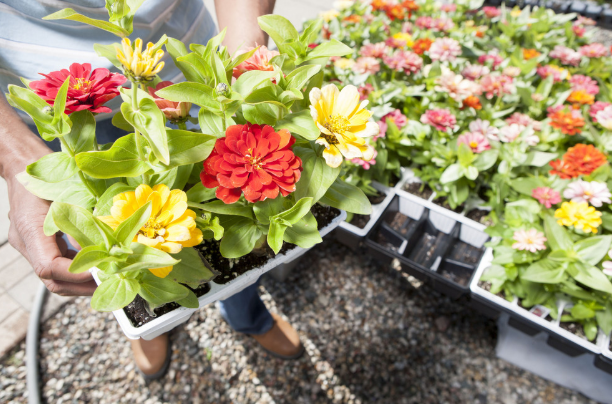
Apart from its decorative nature, a greenhouse can also be a functional structure that serves its intended purpose. Building one may take hard work and a surge of expenses; however, greenhouses can be a worthwhile investment as you witness your first batch of produce. Commonly, most home gardeners will reap their fresh harvest and/or flowers nearly 10-12 months each year.
Moreover, greenhouses tend to be heavier, which can make them quite challenging to build. Nonetheless, with a precise planning structure and the right materials, you can definitely build your very own wooden greenhouse at home. Here are four doable steps on how to start building it.
Step 1: Measure the Spaces and Source Out Your Wood
Before you start building your greenhouse, initially measure the space in which your frame will stand. The width of the pre-made steel tubes will give you an idea of how wide your greenhouse will be. Depending on the availability of your framing material, you can make the structure deeper to suffice your garden needs.
Wood is a reliable, excellent framing material for smaller greenhouses. It has the advantage of being a cheaper, familiar material that is convenient to shape, with or without specialized resources. Wood materials such as salvaged, rough-sawn, or beetle-kill lumber can directly be accessible in local shops. Although it generally requires greater maintenance, wood can last for fifty years in a dry climate with adequate care and paint.
Step 2: Select Your Design and Bolt Your Frames
A geodome greenhouse receives more light, has a spacious growing area, and makes quite a statement with its lightweight yet secure structure. At the same time, an attached greenhouse provides an oasis right next to your home and minimizes construction costs because of its preexisting north wall.
For inspiration, you can view South West Greenhouses and look for designs that suit your garden best. Likewise, if you are in doubt about how to start building one, you can opt to buy your greenhouse from their selection of sturdy designs.
A wooden greenhouse has a lot of benefits and helps ensure that your plants grow strong and healthy. Apart from this, there are more notable greenhouse benefits, which you can check out at livinator.com.
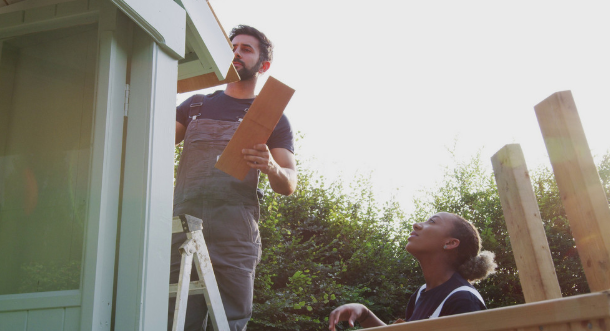
After you have decided which base frame to use, you may start bolting them to the ground along the perimeter and then secure the in-between frames with 2×4 lumber or extra poles. This offers lateral support during windy conditions.

Step 3: Secure the Structure and Include Windows
Once the structure has been attached, check the joints and connections in your frame for any rough corners that may damage the frame’s plastic covering. Learn to use an angle grinder to smooth out the edges or enclose them with a soft garment that operates as a buffer for your covering material.
Next, seal up the two ends by attaching a wood frame wall to support the curve of the steel roof. Make sure to incorporate a door at the end of each wood frame. Depending on the structure’s measurements, you can include extra windows to maximize both airflow and light.
Moreover, when starting a home garden, you don’t want to spend too much on the heating maintenance of your greenhouse. Gladly, wooden materials are better at trapping heat inside to keep your plants in better health.
Step 4: Final Touches
Completely drape the clear plastic sheet over the roof structure. Next, fasten each poly-material edge by rolling the 2 x 4 lumber tightly. Make the lumber slightly longer than the length of the plastic, so the wood sticks out of each end. This provides you the opportunity to tie down or hold the plastic at the base level.
This method pulls up the edges of the plastic by simply rolling the lumber up the side of the structure. This allows the structure to cool and ventilate itself during hotter days.
The Bottom Line
A DIY backyard greenhouse will offer your plants the advantage they need. Whether your plants thrive better indoors or are suited in hotter climates, building a greenhouse can positively influence your yields.
Wooden greenhouses are always a better choice because of their traditional and pleasant appeal. When seasons changed, you can immediately repaint them for maintenance. Likewise, having it extended or building a bigger one is possible because wood can easily be sourced. Either you reach out to a carpenter or do it yourself; definitely, you can create a greenhouse that suits your needs.