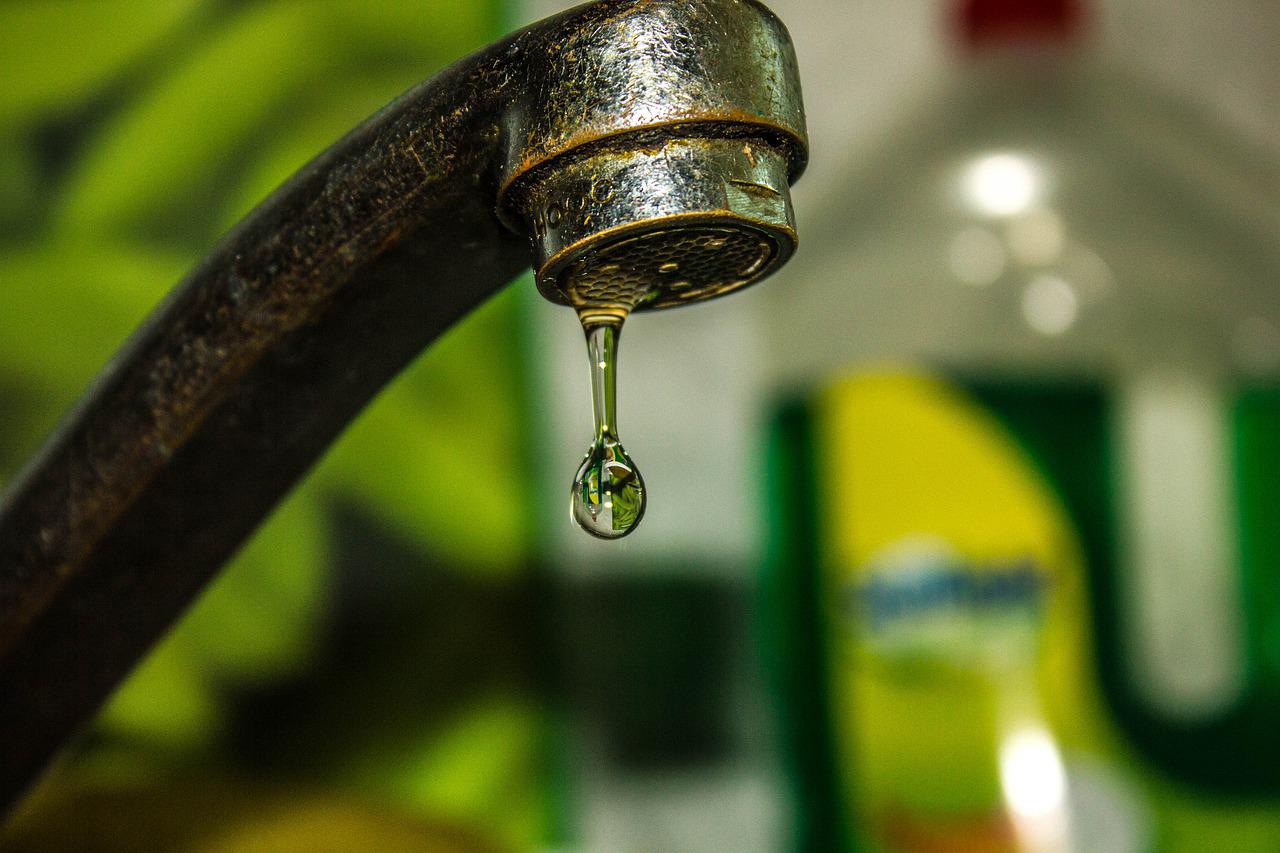
Toilets tend to have issues that need fixing every now and then. Sometimes you may not be able to get a plumber to check it out quickly and that is why it is so comforting to know that with the right tools and materials you can easily fix any toilet problems yourself. Other times, you may run out of warranty or you may not be able to cover the expenses of getting a plumber.
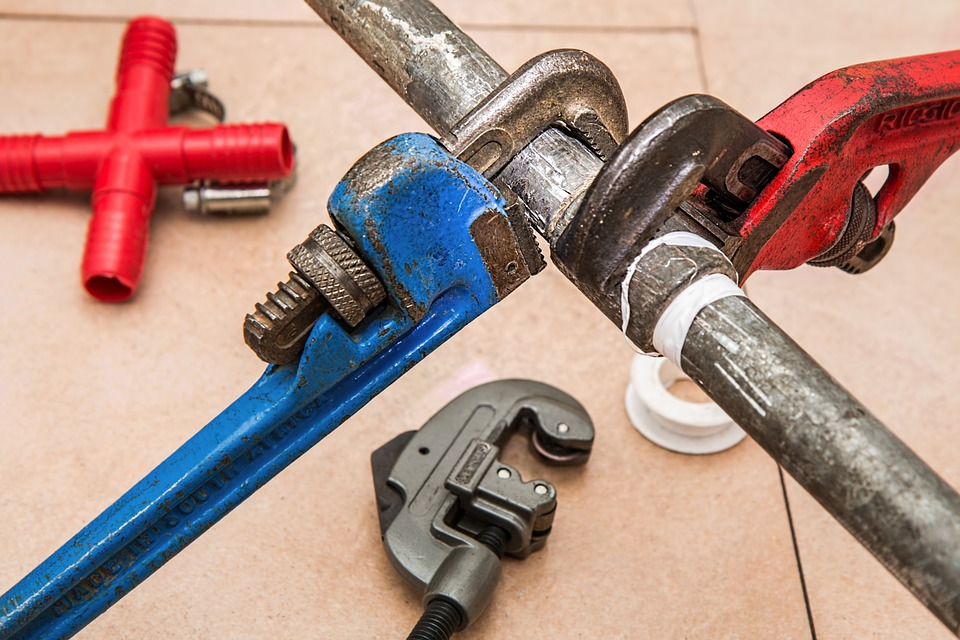
You can get an affordable repair kit that will help you fix your toilet by visiting https://homeworthylist.com/best-toilet-repair-kits/. These kits come with the tools you need to repair your toilet. The process of fixing a leaking toilet is easier with this.
Here are steps you need to follow to fix a leaking toilet:
Check the Inlet Valve and the Float
The inlet valve is responsible for allowing water to flow into the tank to a point that the tank is full. If water overflows, it could be because the inlet valve has a problem. The float signals the inlet valve to stop letting in water because it rises with the level of water in the tank. To ensure that they are both working correctly, you can flush the toilet and hold the overflow tube that holds the float. If the water stops getting into the tank when it is full, you will know that the problem lies with the float.
Fix the Float
After you have identified that the float has a problem you should fix it by adjusting its level through the screw that holds it together. This will reduce the amount of water getting into the tank. If water keeps overflowing, you should assume that the float itself has a problem. The problem could have a hole or tear which fills it with water hence; it cannot be able to rise with the water level in the tank. This means the inlet valve never gets the signal that there is enough water in the tank. If this is the case, you will need to replace the float.
Remove Water From the Tank
If the float and the inlet valve are good and the water is still overflowing, the bullock may be the problem. You can repair a bullock but the best option is to replace the entire assembly. Flush the water while holding the shut-off valve and remove the remaining water in the tank using a sponge.
Re-assemble
Push the assembly line that connects the bullock bottom at the tank’s base up and remove the assembly. Re-assemble the new bullock and tighten the nut underneath the tank then put the supply line back in place. Place a new refill tube in the tank and let go off the shutoff valve to allow water to get into the tank.
Check the Flapper
The flapper is responsible for allowing water to flow into the seat and when you have checked all the above and water is still leaking, the flapper could be the problem. You should cut off the water supply from the shutoff valve.
Fix the flapper
Clear out water in the tank by flushing the toilet. Remove any dirt from the flapper seat with a clean cloth and check for any wear or tear. If it is damaged, remove it, replace it with a new one, and make sure you tighten it to fit perfectly.
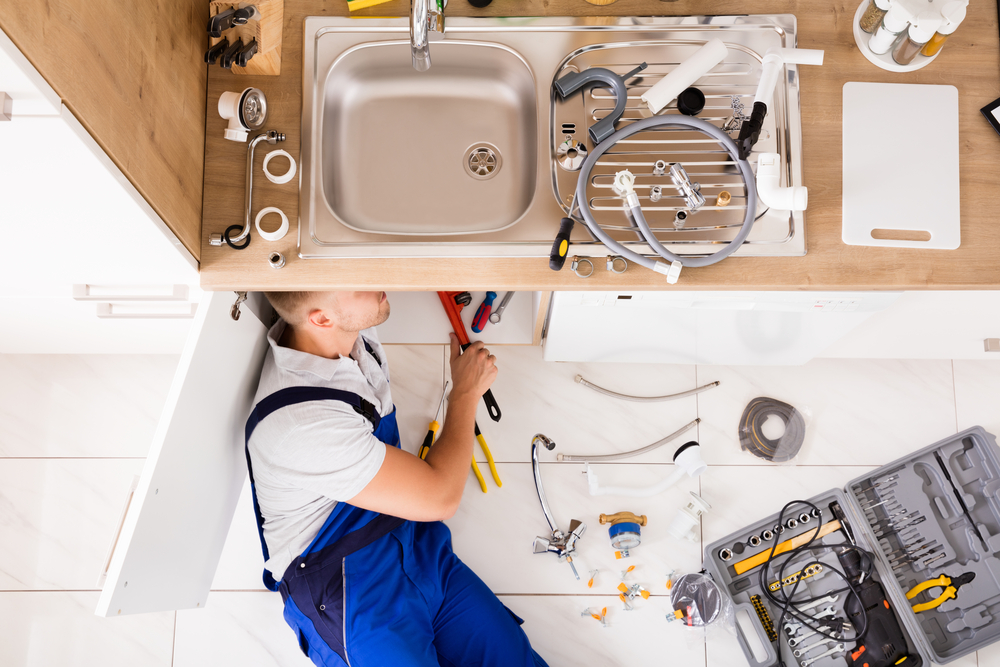
You can easily handle any of these issues with the right tools and that is why you should get a toolkit to help you with this. This will also save you time and money. Try this approach to fix your toilet and see how easy it is.