Have you ever thought about building your own wood fired pizza oven? You probably thought that this is something time-consuming and difficult to do. Nothing more wrong! Read this guide and see for yourself, that creating pizza ovens in a few easy steps is possible! What are the steps of the process? Check and find it out!
What is a wood fired pizza oven?
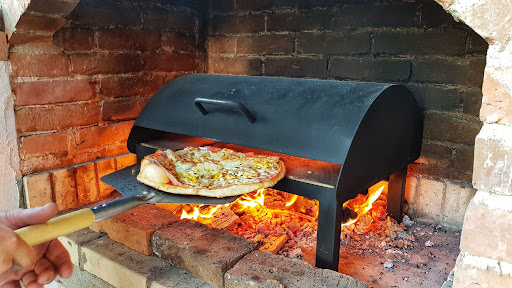
A wood fired pizza oven is probably the oldest existing oven. It may be a freestanding or built-in oven, which is powered by wood, charcoal or gas. Moreover, it can reach really high temperatures, making the pizza peel crispy.
Why is it worth having it?
Making pizza and other dishes is much quicker. Aromas of the meals taken right from the garden oven are just amazing. The taste of dishes is incomparable to anything else. What’s more, the best quality wood is the reason why meals are rich in nutrients in spite of heat treatment. Another advantage of having your own oven is that you can spend time with your friends and family in the open air. In the end, remember that you can prepare much more than pizza!
What do you need to know before you start building?
First of all, you have to find a good place for your outdoor pizza oven. It’s a must. One rule you should follow – never, ever build an oven in the area of trees! It will save you from fires and other accidents. If you’re looking for a right place, think about the one which is far from things that catch fire easily. It should be near some wall.
You should also take the oven’s construction into consideration. You need a strong and stable construction in order to cover your backyard pizza oven. What you also need to consider is a type of oven, style, performance and cooking capacity.
Learn how outdoor ovens work
While being at the stage where the oven hasn’t been built yet, it’s the high time to learn how outdoor ovens work. Preheating the oven cannot succeed without lighting a fire at the back or on the inside. For many people it’s obvious, but on the other hand, it’s worth mentioning.
It’s also better to know that the best temperature for baking pizzas is between 300 and 400 degrees Celsius. What’s more, some ovens have gas burners, which get your oven cavity up to temperature a lot quicker. With this knowledge, you are 100% ready to start building your own pizza oven!

Are you ready to build your garden oven? Yes? So let’s go!
Before you start your adventure with building the pizza oven, you should get a positive attitude and belief in your possibilities. And that is because the process involves only seven easy steps. With a little bit of patience and knowledge, you can do it!
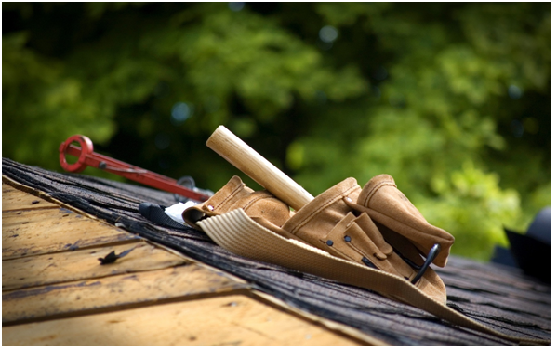
Step one – buying materials
Creating your own wood fired oven is possible (even if you’re an amateur) right after buying the right materials. You might need fire bricks, arch bricks, heatproof screed, wire meshes, ceramic fibre boards, adhesives, blankets and outdoor oven cements.
Step two – laying the concrete foundation
You should find a perfect place in your garden and lay a concrete foundation there. You may use concrete, house bricks, railway sleepers or breeze blocks for the purpose of supporting your brick pizza oven. If you want to connect breeze blocks or bricks, you should use cement.
Some wood elements may appear and you ought to screw the pieces together. This step is really important as it determines whether the plinth is steady or not. It has to be! If you have any free space left then you may prepare it for storing blocks.
Step three – laying the bricks
Now it’s time to create the base of the oven right from the bricks. You have to lay them all flush to each other on a layer of sand. You want to achieve the effect of a smooth surface. Achieving the goal will be possible thanks to the best quality bricks, which have no cavities.

Step four – making the arch
Making the arch is another step. It should be important to you to do it precisely, using the semi-circular sand mould. Put it brick by brick. Make use of polystyrene or wooden templates if you want. Another option is using specially tempered firebricks. It will help you with building your pizza oven for sure!
Step five – constructing the dome
Take clay or brickwork and use them if you would like to have a barrel shaped dome. In turn, if you’re up to reaching the shape of a circle, you ought to put rings of bricks one on top of another. You won’t need any support. Remember that if you would want to have a chimney, you will absolutely have to leave a hole between the dome and arch.
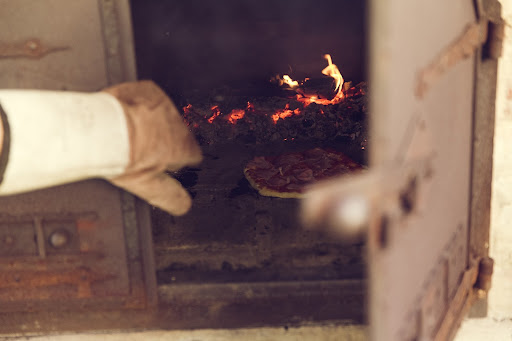
Step six – adding the door
Having a door in a wood fired pizza oven is very useful, especially when you want to prepare not only pizzas, but also breads, roasted vegetables, meats, fish, casseroles, and even desserts! The best doors for the best outdoor pizza ovens are made from cast iron. Doors should fit your cooking appliance perfectly. You can achieve it by using fire rope and an appropriate adhesive, which will help you create a tight seal.
Step seven – insulating
The final step at the entire building process is insulation concrete plinths. It’s possible to do it in two ways. The first option is to buy ready made insulation. Whereas the second option is to insulate it yourself, under the base of the oven with the use of a ceramic fibre board.
You should necessarily insulate the dome with a thermal blanket. Then create a key (you may take advantage of a chicken wire), which will enable covering outdoor oven cement. Interesting fact: in order to clean the oven, you simply have to empty the fuel tray (at the back of the oven) so that you could wipe down the pizza stone.

Summary
As you can see, building the best pizza ovens is easy as a walk in the park and even an amateur is able to do it. Creating your own oven in your own garden just in seven easy steps is achievable! All you need to do is to patiently follow our instructions. Remember to buy the right materials, lay the concrete foundation and the bricks, make the arch, construct the dome, add the door, insulate… and bit by bit, you will succeed!