How 3D Rendering Improves Interior Design
One of the biggest challenges that designers face is to visualize an interior design concept before it becomes reality. This is where 3D Rendering comes in handy, offering a transformative solution that connects imagination and reality. In this article, we’ll discover the amazing benefits of 3D Rendering for interior design, learn about the tools and steps of creating stunning renderings, and reveal some priceless tips and tricks for mastering the skill of 3D interior design rendering. Which yousee.studio will tell us about.
What 3D Rendering Is and How It Enhances Design
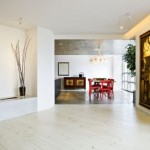
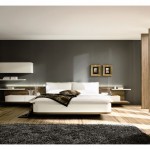
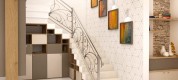
3D Rendering is a technique that allows designers to produce realistic images of spaces, furniture, and decor. It converts design concepts from flat sketches to vivid, lifelike representations. With 3D Rendering, designers can visualize their ideas, experiment with different layouts and styles, and show clients and peers the final outcome. It’s the ultimate tool for creating and conveying design concepts effectively.
The Power to Visualize and Showcase
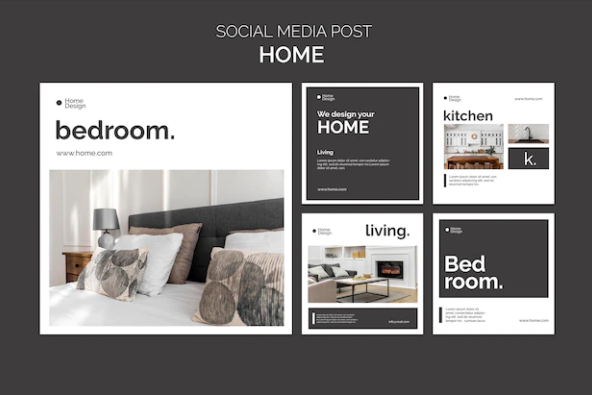
One of the primary benefits of 3D Rendering is its ability to provide a visual playground for design ideas. Designers can take an empty room and populate it with furniture, colors, and textures to see how everything comes together. This experimentation allows for testing different layouts and styles without physically moving a single piece of furniture. Furthermore, 3D renderings are excellent tools for showcasing your work to clients, colleagues, or friends, offering them a captivating preview of the final design.
Tools for Crafting Stunning 3D Renderings
In the realm of 3D Rendering for interior design, several online tools are vivid. Platforms like Planner 5D, Roomstyler, and Coohom offer intuitive interfaces that guide users through the rendering process. Creating a 3D rendering of a room is as easy as a few clicks, thanks to these tools.
Step 1: Room Layout and Import
The first step involves sketching the room layout using the tool’s built-in drawing features or importing an existing floor plan. This forms the blueprint for your design.
Step 2: Adding Furniture and Accessories
Once your room’s framework is set, it’s time to decorate it. Choose furniture, accessories, and decor items from the tool’s extensive libraries and place them strategically within your space.
Step 3: Rendering and Sharing
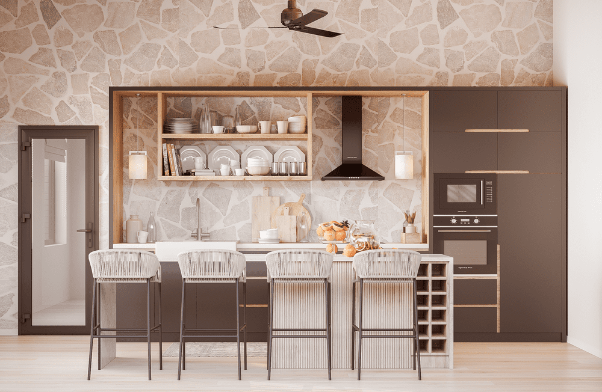
After refining your design, it’s time to render. The tools will transform your 3D model into a photorealistic image. Once rendered, you can easily share it with clients, friends, or colleagues.
Step 4: Preview in Different Modes
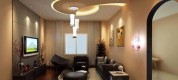
Modern tools offer the ability to preview your design in various lighting conditions, times of day, and even under different effects. This dynamic feature adds depth and realism to your renderings.
Mastering the Art: Tips and Tricks
While the tools make the process user-friendly, a touch of mastery can elevate your renderings:
- Precision Matters: Align and arrange items with precision using snapping features to ensure a polished look.
- Customization: Edit and modify objects to match your design vision flawlessly.
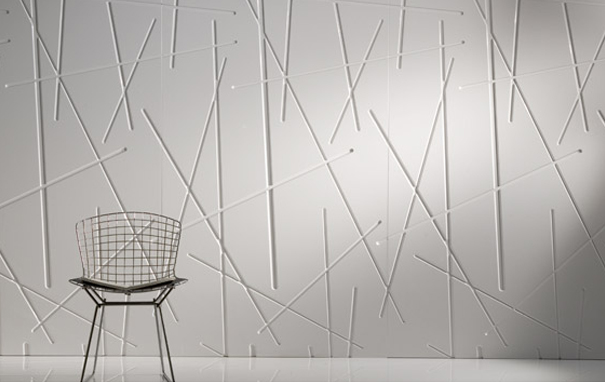
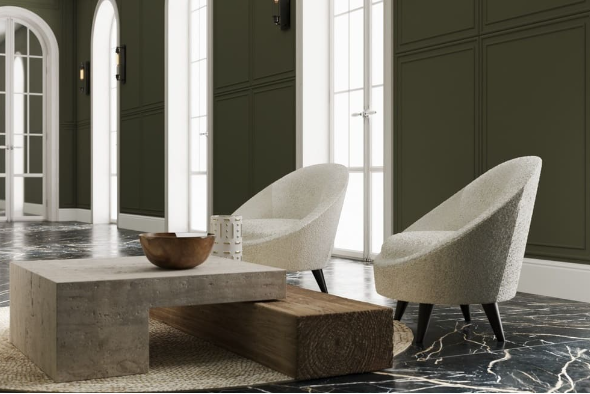
- Color Harmony: Match colors, textures, and patterns with cohesion to create a harmonious aesthetic.
In Conclusion
3D Rendering is a transformative tool that empowers interior designers to visualize, communicate, and refine their concepts with unprecedented precision. The synergy between user-friendly tools, strategic steps, and creative expertise facilitates the creation of stunning 3D renderings that blur the lines between imagination and reality. Whether you’re an aspiring designer or a seasoned professional, embracing the world of 3D Rendering can undoubtedly amplify your design prowess and redefine the way you envision interior spaces.