The roof is an important part of any building. Whether a commercial, industrial, or residential building, the roof protects the indoor space from weather hazards. Any problem with your roof can compromise your comfort. The key to limiting damages arising from roof problems is to spot the roof damage early and address the problem head-on. If you have an EPDM rubber roofing installed on your property, calling a professional roofing contractor is recommended, especially for inspections, repairs, and replacement. However, if you wish to know how EPDM roof installation works before making a decision, below is a guide that takes you through the installation steps.
What is EPDM Rubber Roofing?
Ethylene Propylene Diene Monomer or EPDM rubber roofing is one of the most durable roofing systems used for flat roof surfaces. The white or black, single-ply rubber roofing membrane can also be used for weatherproofing. EPDM rubber roofing offers a lot of advantages, including protection from weather hazards and insulation.
Installing EPDM Rubber Roofing
To install this type of roofing system, you need technical know-how and the right tools. Buying these tools for the job may be expensive. Hiring a roofing contractor to get the job done may be a lot cheaper. However, if you wish to gain first-hand experience installing an EPDM roofing system, below are the steps involved.
Surface Preparation
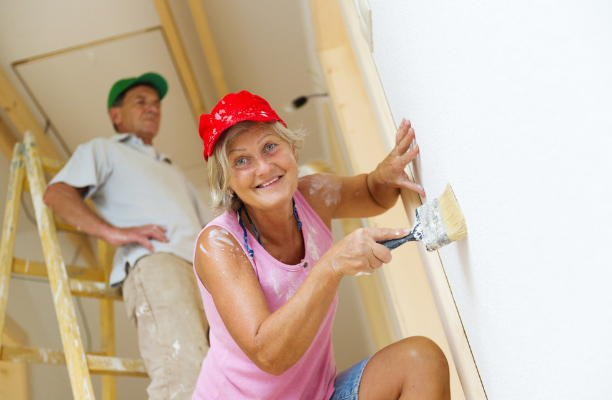
Like painting, you need to prepare the surface before working on it. For an EPDM rubber roofing to come out right, you need to pay attention to the basics. Begin the installation process by clearing the surface to be worked on. Get rid of all debris, dirt, grease, and other materials that may affect the installation process. Ensure that the surface to be worked on is spotless and dry. Also, remove all existing roofing materials on the surface to be worked on.
If you are working on a commercial roof with stagnant water or drainage problems, it would be best to reach out to a professional roofer to look at these issues. Ponding or drainage issues can compromise the integrity of the new installation. This may bring your efforts to zero.
Pre-Installation Tasks
Before you head on to installing the EPDM rubber roofing, start by marking the area to be worked on. Doing this will help you to maintain perfect and straight sheets. It will also significantly reduce the chances of creases and bubbles.
After marking the area to be worked on, calculate the required rubber sheets to be used based on the measurement of the marked area. Ensure that enough rubber sheets are used during the installation process to ensure complete protection. You should also calculate enough rubber sheets to make a thick overhang for the roof edge and adjacent walls.
EPDM Rubber Roofing Sheet Preparation
Once you have ordered and received your EPDM roofing sheets, you’ll need to prepare them for the task ahead. A single ply of EPDM rubber roofing sheet may be as large as 50 feet in width. This means that it’ll come rolled up. You need to unroll and flatten out the roofing material before the installation. Once laid out, allow the rubber to rest and expand in response to ambient temperature. On a warm day, expansion may be fully achieved in 30 minutes or less. If you have time on your hands, wait for one hour to allow full expansion of the roofing material.
EPDM Rubber Roofing Sheet Application
To properly install your EPDM rubber roofing sheet, start at one edge and work your way to the other. The ideal application technique is to work with half a sheet at a time. You can use a water-based adhesive or bonded adhesive. For water-based adhesives, spread the adhesive on the roof in sections of three or four feet using a paint roller, then spread your EPDM on the portion while the adhesive is still wet. For a bonded adhesive, apply a generous portion of the adhesive to the roof and EPDM membrane surface. Once applied, you can proceed to work on other roof sections because it requires an average waiting time of 15 minutes after application.
Brushing
After rolling the EPDM membrane on your roof, brush it from one end to the other. Doing this gets rid of air pockets, bubbles, and creases. It also facilitates a stronger bond between the roof and the freshly applied membrane.
Finishing Touches
The roof edges are just as important as the overall installation. Getting this right can significantly improve the protection offered by the roofing material. Ensure that your adhesive is generously applied to the roof edges before the overhangs are layered on.
More from Ghar360 Blog
 Epdm Roofing Kits: The Benefits Of Choosing This Roofing Solution
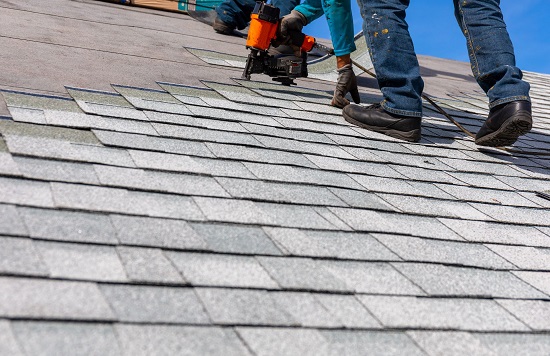 7 Tips To Ensure A Smooth Roof Installation Process
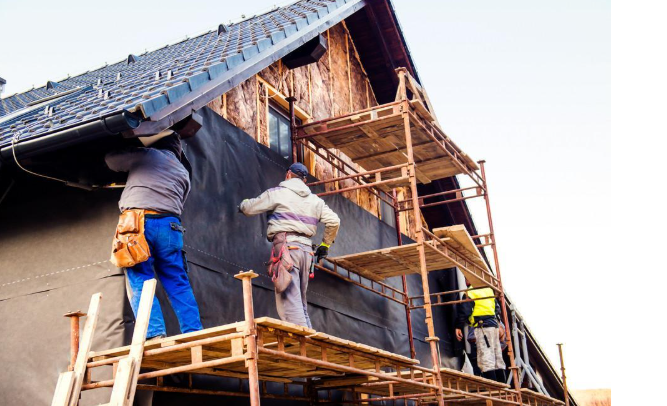 Why Professional Roofing Services Are Essential for Fast and Reliable Roof Repairs
 Key Considerations When Installing a Roof and Managing Contracts
 How Thick Should a Concrete Driveway Be?