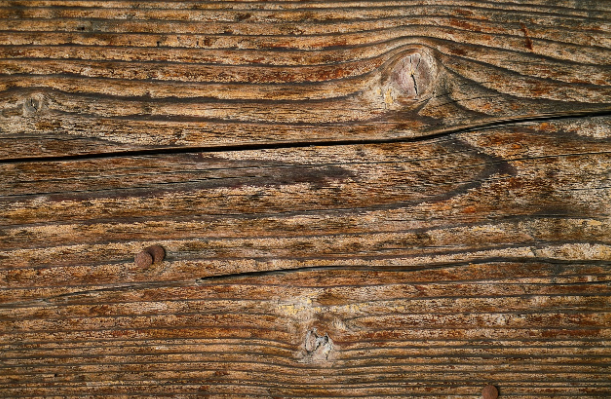
The modern-day tabletop is characterized by its shine and gorgeously firm surfaces, which make it sturdy and resistant while also creating a grand illusion for the things kept on it. Epoxy resin makes it extremely easy to achieve this outrageous combination of class and strength.
Though it is a little difficult for the resin to stay on the tabletop due to its property to flow to the bottom real quick, we know exactly how to achieve the desired outcome, which trusted cost-effective barriers that let it cure in its time.
Materials Required
Before starting, let us go through the list of materials required for the resin tabletop.
For prepping
Newspaper or drop cloth
Piece of cloth
For Self-protection
Rubber gloves
Protective eyewear
For preparing the resin
Two-part epoxy resin
Bucket
Wooden stir sticks
Hardener
To navigate the resin on the tabletop
Masking tape or Painters Tape at least 1inch wide
Duct tape
Foam brushes
Straw
Post-drying
Fine-grit sandpaper
Rubbing alcohol or acetone
Make your Epoxy Tabletop
With these instructions, you can make your own Resin Tabletop yourself. If you need any more help, check out resin-expert.com for more instructions.
Here are the steps you need to follow to get your dream resin tabletop in place:
Prepare the surface with the cloth or the newspaper to secure it from resin drips. Keep the table safely on the surface and wipe it after dampening the piece of cloth to rid it of any kind of dust or dirt. Let it dry to start the procedure.
To stop the resin from running beyond the edges of the table, secure them with a barrier made of masking tape in case the tabletop lacks a rim. While conducting this step, make sure that half of the surface of the tape stands to create the rim.
Now take the bucket and blend the epoxy and the hardener using the stick while following the manufacturer’s instructions for accuracy. This quantity should be enough for a thin coat over the tabletop.
Ready to pour the epoxy resin over the tabletop, make sure that it is done slowly, and the process should start right at the center. Whatever notches or slits reside on the table should be covered with the resin with the foam brush. Once the tabletop is completely soaked in resin, use the straw to blow out the bubbles.
Follow the instructions mentioned by the manufacturer to guide yourself about the curing scheme of the particular brand. Once it dries, safely remove the faux rim made of the masking tape.
Create a new faux rim of masking tape on the perimeter of the resin tabletop and repeat the procedure of pouring the epoxy resin on the top with a larger quantity. Let it get covered completely and let it dry to the mark of time mentioned by the manufacturer keeping in mind that this is the second coat.
Remove the tape again and decide on introducing additional coats if required while keeping in mind that enough time is given to cure and that a faux rim is made every time a new coat is added.
Once you are satisfied with the epoxy tabletop, use the sandpaper to make the edges of the tabletop rounder. Now use the rag to clean the minuscule sanded remains using rubbing alcohol or acetone.
Without making a tape rim, pour a fine layer of resin which goes over the edges and use the foam brush to navigate it through the sides and on the perimeter of the table which had been covered by the tape.
Let the resin tabletop cure on its own for one final time following the instructions provided with the brand.
Suggestions
Epoxy tabletops are great for exhibiting relics, and therefore, a lot of creative alternate additions can be made to it like bottle caps, which can be glued even before the resin is poured. This can make your tabletop archive more interesting to showcase.
Choose the epoxy resin for the tabletop carefully. It should not be vicious but rather low in density compared to other resins. Ask your provider to guide you to select the ones known for fewer air bubbles and thinner consistency.
If you feel the need, you can sand the tabletop between the coats. Using finer sandpaper will help you get more precision. The only thing you need to be careful with is the dusted sand, which has to be cleaned with rubbing alcohol before the next coat is poured.
Precautions
If you are not using a respirator, make sure that the task is completed; an open ventilated area resin tends to have distinctly strong fumes.
Measure the resin accurately for your coats as thinner resin dries up faster than others.
Protecting your eyes and hands is a must while working with epoxies.


