It’s fascinating, fulfilling, and gorgeous to watch baristas make latte art. The contentious talent can be learned at home, and there is no better time than now to begin started. Sure, there would be some misses, but at the very least, you’d be rewarded with a delicious brew. For anything else, we offer some fast pointers.
The Origins of Latte Art
Latte art is thought to have originated in Italy, following the introduction of espresso and the ongoing development of microfoam in milk. In the 1980s and 1990s, however, David Schomer popularized it in the United States.
Schomer created the heart pattern in 1989. He created the rosetta in 1992 after duplicating a method inspired by a photograph he saw in Italy’s Cafe Mateki. Schomer met Luigi Lupi of Italy over the internet, where they exchanged latte art films. In 2004, he came up with the idea for the tulip art.
With the passage of time, latte art continues to evolve. Talented and skilled baristas all over the world are introducing more complicated designs. And, in addition to lattes, this coffee masterpiece can be found in cappuccinos, matcha lattes, and even hot chocolate s.
The Science of Excellent Foam
Let’s start with a little science lecture on milk foam before we get into the frothing ways. Milk contains carbs, proteins, and fatty acids, all of which contribute to the formation of foam. When you froth milk (which is really just shaking it up), you introduce air, which causes the protein to be disrupted. However, because the protein wants to stay together, it builds a protective shield over the air bubbles, allowing them to maintain their structure and avoid bursting. This is where the foam is! Look for milk with a higher protein concentration if you want super-foamy froth.
When Producing Latte Art, What Should Be Your Proportions?
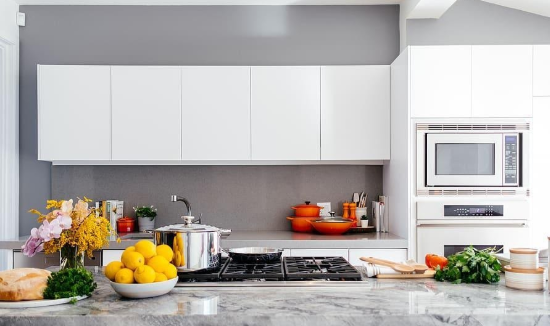
A double shot of espresso, around 2 oz., is normally started by your barista. Do the same if you have an espresso machine at home. If not, you’ll have to make do with 4 oz of firmly made coffee. You won’t be able to fit your heated milk in any more than that. If you use less, your latte will be too weak. It’s best to use a Moka pot or Aeropress for this, as they’re wonderful for making small batches of really strong coffee, similar to espresso. Check on https://brewedcoffeeguide.com/best-coffee-for-latte/ to know the more.
Latte Art: Instructions
-
To make a smooth microfoam, steam or froth 6-8 ounces of milk
Tips on attaining the correct texture may be found in our in-depth guide to heating milk. (If you don’t have a steaming wand, you can have a difficult time creating the silky texture needed for latte art.) After steaming the milk, forcefully smack the metal steaming pitcher on the counter and stir the milk to dislodge any air bubbles.
-
Begin pouring
Position your pitcher so that it pours toward the cup’s edge, then tilt the cup toward the pitcher at a small angle. The pour’s height and pace are crucial. Start a few inches above your cup, so the milk may sink beneath the espresso’s top. Move the pitcher in closer and increase the speed of your pour until you see white foam forming on top of the espresso when it’s approximately halfway filled. The directions will differ significantly based on the type of design you wish to create. Beginners should begin with the heart and rosetta designs.
For beginners, here are a few designs that are simple to try:
The Heart
Steam three ounces of milk in a coffee cup that is tilted at a 45-degree angle. Maintain a safe distance so that the milk reaches the bottom of the cup and you may begin pouring in the center. Shake your pitcher a little to bring it close to the cup when it’s about three-quarters filled, then stop shaking. Pour the milk in one straight line from one end to the other when you see a big white circle, and you’ll have a heart.
The Rosetta
Start by tilting your coffee cup at a 45-degree angle and pouring steamed milk into it until it’s three-quarters full. After then, bring your pitcher closer to the rim of the cup and pour a bit more milk. When you see a white foamy circle develop, move your pitcher from one side to the other, pouring small amounts of milk as you go. Pour milk in a straight line downwards when you reach the bottom of the cup.
The Grizzly
Except for the last phase, where you pour in a straight line, repeat the steps from the heart design. You’ll have a white circle-like object that will serve as the creature’s face. After that, take a spoon and make two little circles where the animal’s ears should be. Then carve the eyes and nose with a toothpick until it looks like a bear!
Now that you know how to pour a good cup of latte art (height, location, and flow), you may attempt pouring your cup, make beautiful art, and flaunt it on your Instagram!