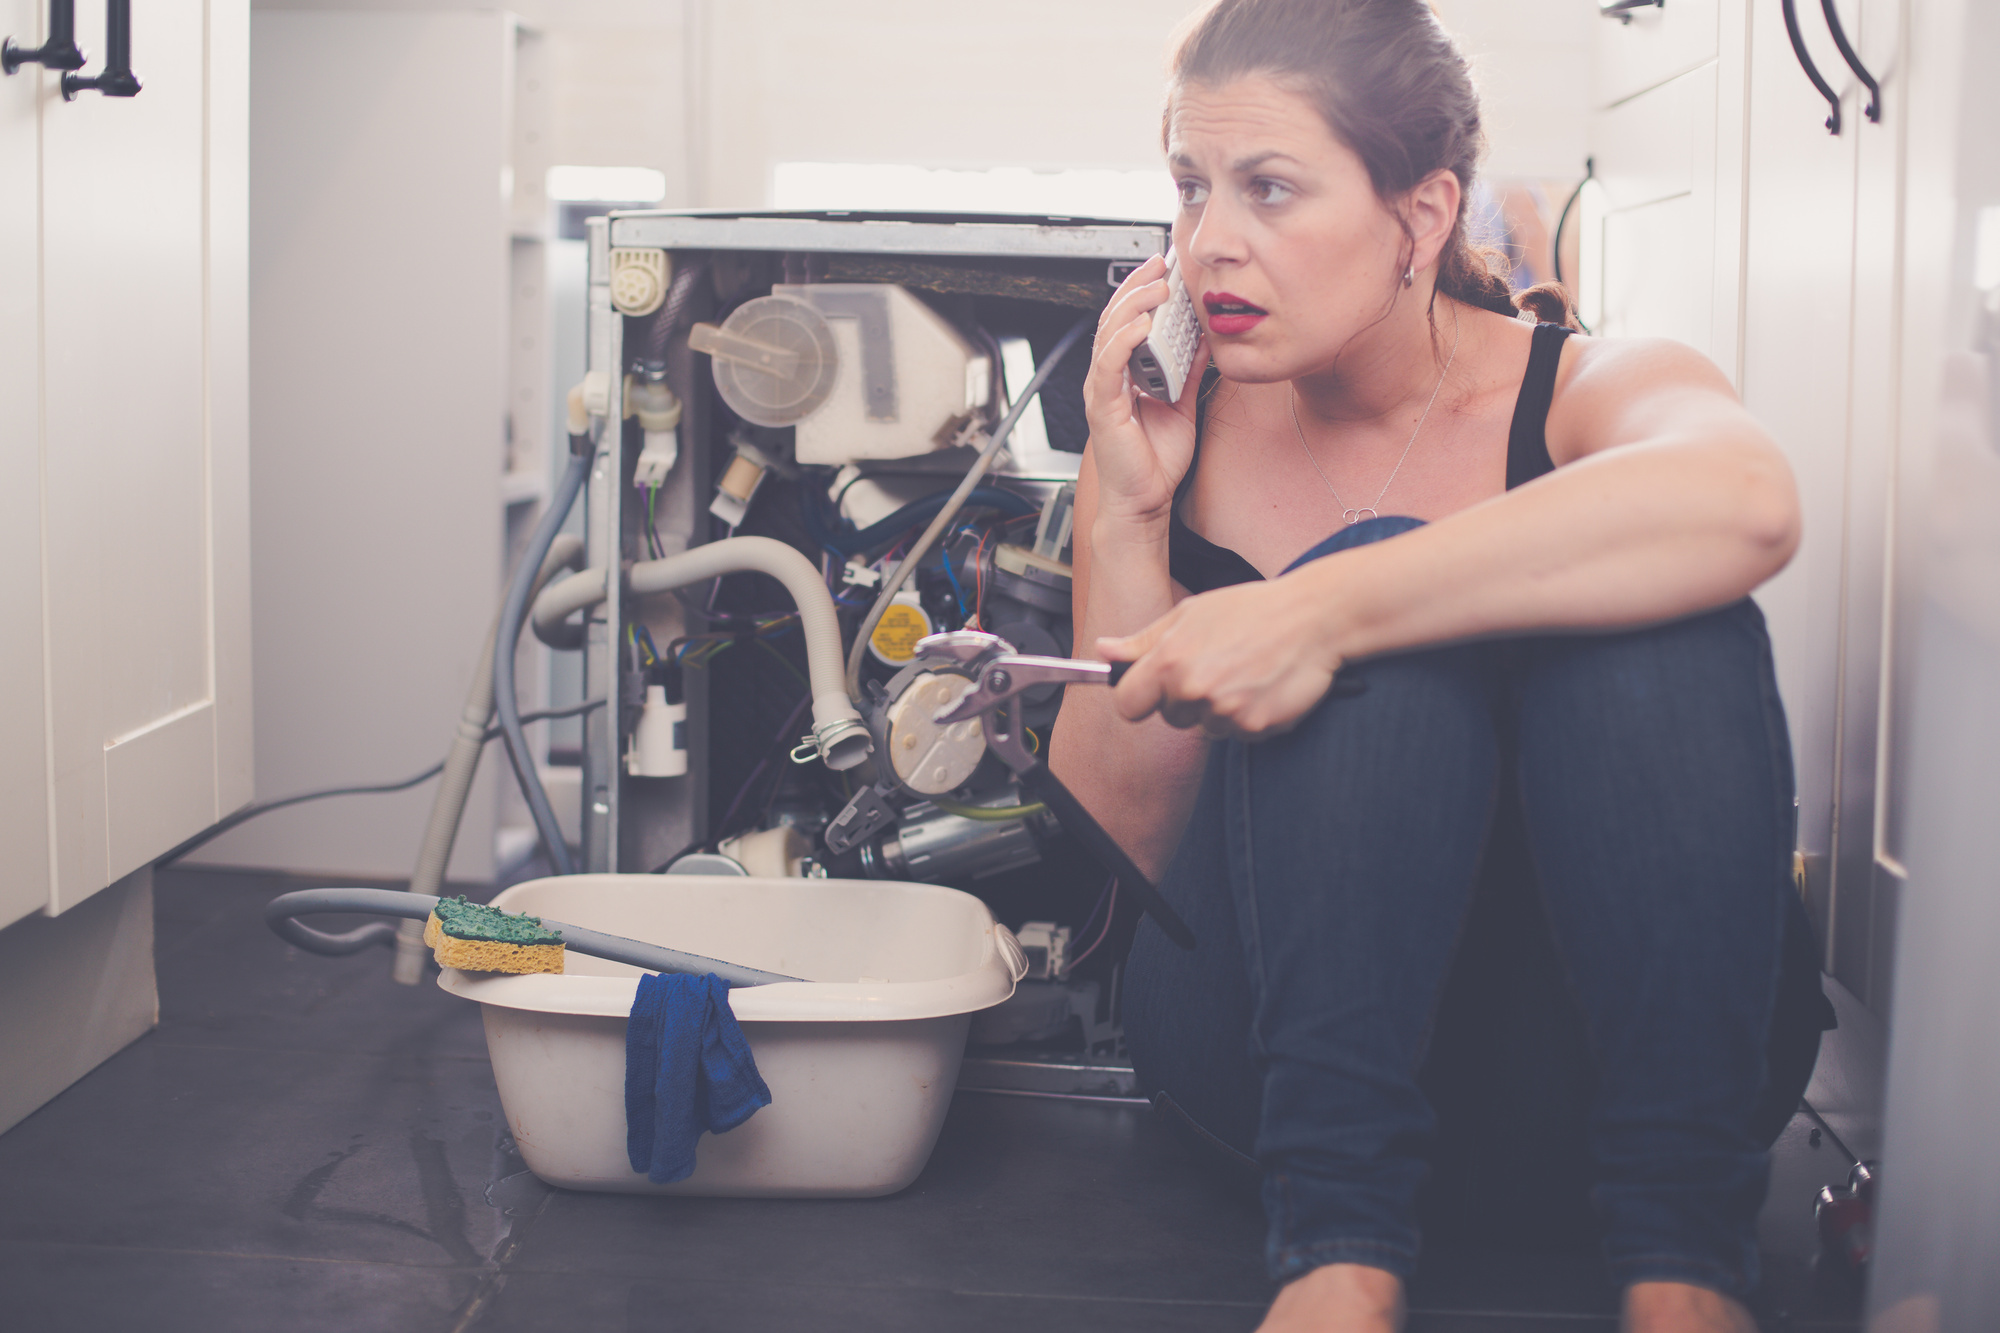
When a home appliance breaks down, most people opt to call a professional repair technician to sort out the problem. However, with a little elbow grease and some basic knowledge, many appliances can be fixed without leaving the house. In recent years, the internet has made it easier than ever to find step-by-step instructions for just about any repair job.
A simple search will often turn up video tutorials, blog posts, and forum discussions that can walk even the most novice handyman through the repair process. In addition, many appliance manufacturers now offer online troubleshooting guides that can help identify the root cause of the problem.
Because of this, Do-it-yourself appliance repair has become increasingly popular, especially for people looking for ways to save money. DIY appliance repair comes with several benefits, including the ability to save money and the satisfaction of completing a project yourself. While some repairs may be simple and straightforward, others may be more complex and require the help of a professional. In this post, we shall give you the tips that you need for your DIY appliance repair project to be a success. Let’s delve in.
Safety first
As with any home improvement project, safety should be your number one priority when undertaking a do-it-yourself appliance repair. Always make sure to disconnect the power supply before beginning any work. This will help prevent the risk of electrocution and other injuries. In addition, always wear protective gear, such as gloves, goggles, and a dust mask, when working with potentially harmful chemicals or materials.
Tools and supplies
Before starting any repair job, it is important to have the proper tools and supplies. A basic toolkit should include a screwdriver set, a hammer, a putty knife, a pair of pliers, and a wrench set. In addition, you may need more specialized tools depending on the type of appliance you are repairing. For instance, if you are repairing a washing machine, you will need a set of Allen wrenches to remove the door panel.
Now, let’s look at the tips for DIY appliance repair
Know the problem
The first step in any repair job is to identify the problem. This may seem like a no-brainer, but it is important to make sure that you understand the issue before attempting to fix it. Various factors can cause many appliance problems, so it is important to diagnose the issue correctly. Once you have identified the problem, you can begin troubleshooting possible solutions.
Do your research
Once you have identified the problem, it is time to research. As we mentioned earlier, the internet can be a valuable resource for finding instructions and troubleshooting tips. In addition, many appliance manufacturers offer online support resources that can help you identify the root cause of the problem and find possible solutions.
Check warranty and service information
Before attempting any repairs, it is important to check your appliance’s warranty and service information. In some cases, the problem may be covered by the manufacturer’s warranty, or a service contract may cover the cost of repairs. If this is the case, you may want to consider calling a professional rather than attempting to fix the problem yourself.
Review the appliance manuals
Another important step in preparing for a do-it-yourself appliance repair is to locate the manual for your particular make and model. The manual will likely include helpful information, such as troubleshooting tips, wiring diagrams, and part numbers. In some cases, you may be able to find an online PDF of the manual through the manufacturer’s website.
If you can’t find the manual, don’t despair—a quick Google search should turn up several results. Just make sure you enter the make and model number of your appliance to be sure to find the most accurate information.
Buy replacement parts
Once you have diagnosed the problem, it is time to order the replacement parts. In many cases, you will be able to order parts directly from the manufacturer. However, you may also be able to find parts at a local appliance store or through an online retailer. When ordering parts, be sure to have the model number of your appliance on hand to be sure to get the correct ones.
Installing the new part
After receiving the replacement parts, follow the instructions in the manual (or online tutorial) to install them. In some cases, you may need to solder or weld new parts into place. If this is the case, make sure you have the proper tools and supplies. If you are unsure about your skills, it is always best to ask for help from a friend or family member who is more experienced.
Testing the appliance
Once you have installed the new parts, it is time to test the appliance to make sure everything is working properly. Turn on the power and run the appliance through a cycle to see if it is functioning correctly. If not, double-check your work and make sure all connections are secure.
In some cases, you may need to call a professional like the technician from Hartman’s Ocala appliance repair to help with the repair. However, in many cases, do-it-yourself appliance repair is a viable option that can save you time and money. Take your time, use caution, and consult the manual before beginning any work. With these tips, you should be well to a successful repair job.
Bottom Line
While appliance repairs can be challenging, they are often much less expensive than replacing the appliance entirely. However, it’s advisable that you don’t attempt DIY appliance repair if you don’t have the experience to do so—otherwise, you risk causing additional damage to your appliance. By following the tips in this article, you can save yourself time and money by successfully completing a do-it-yourself appliance repair.


