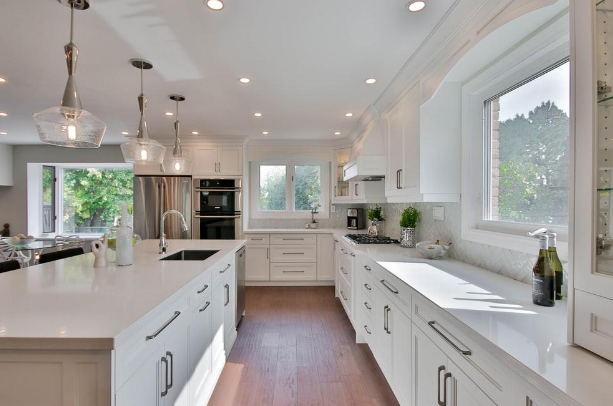
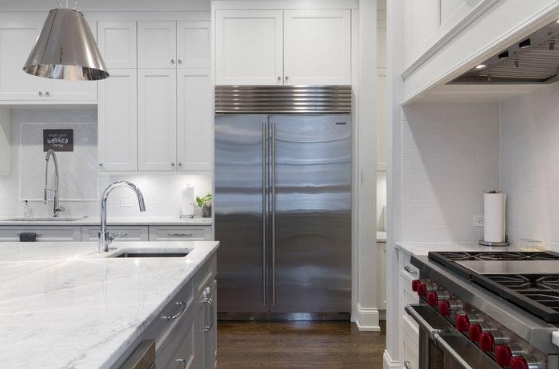
Every home deserves to look good in all areas including the kitchen. After owning different houses, I can attest that the kitchen without kitchen cabinets is not complete. Once you have built your house and settled, take your time to install kitchen cabinets. What is fascinating is that you can build the kitchen cabinets alone. Personally, I have never hired a technician to do petty work such as building a cabinet for me. In this article, I give you a step-by-step procedure on how to build a kitchen.
The tools and material that you will require for the project
Just like any other DIY project, the first step is to collect all the tools and materials that you need for the project. Here are the ones that you will need for this particular project:
Air compressor
Clamps
Air hose
Caulk gun
Cordless drill
Hearing protection
Level
Miter saw
Router
Pocket hole jig
Wood glue
Safety glasses
Circular saw
Brad nail gun
The needed materials include:
4-inch hardwood plywood
2 inch screws
2 by 4 lumber for bases
2-inch brads
Wood filter
Finish
Construction adhesive
¾ inch hardwood plywood
1. Face Frame Cabinet Building
After collecting the needed tools and materials, the first step is to build the face of your kitchen cabinet. Start by labeling your face frames and match their colors together with the grain. Labeling is important as it ensures all the frames go back to their initial positions easily. Also, the pencil marks will help you to know if you assembled the parts well. After the assembly, the pencil marks should all disappear. Use the pocket hole screws to join the face of the frame.
2. Make the cabinet doors
This is one of the trickiest parts of building a kitchen cabinet. However, it does not mean that the task is completely undoable. Start by shaping the woods to your desired designs. I recommend that you have enough space and clamps for this process for better results. However, if you have limited time, you can purchase cabinet doors both online or at your nearby stores.
While assembling your parts, I recommend that you make the finishing process easier by leaving the back part off until you are ready to finish. This will make it easy for you to access the deeper parts of the cabinet.
3. Trim the face frames flush
For a better-looking cabinet, flush its face frames so that it slightly matches with the sides. However, you can still make the face frame slightly bigger (by 1/16 inches) then trim it off using a router bit.
4. Cut, plane,and sand at the same time
It is very difficult to get the exact replicates of your previous cuts even if you have the best table saw. In that case, I recommend that you cut, plane and sand your woods at the same time for uniformity. You can gang-sand board edges by first clamping them together. In addition to that, always make extra parts from the ones you need. This gives you the chance to pick the best ones while assembling them.
5. Assemble the parts
This is where the tough work of nailing and screwing the parts come in. With the help of a friend, level the base, build larger face frames (leave the overlaps) and cap the end of the cabinets. Use the drills and the clamps to tighten and hold the parts in place. For the best kitchen cabinet system, build individual cabinets.
6. Complete the installation
After assembling the parts, make sure that they are all working. Test their doors and confirm their stabilities. Remember, if you want to build separate bases, you will need end caps.
Conclusion
Even though building your kitchen cabinet can be somewhat tricky, the process is not entirely impossible,and you can do so alone and save some cash. However, you will need to have all the tools in place and a friend to give you a hand. Remember to wear protective gears and adhere to all the safety tips.
I hope that it has been useful to you. Kindly leave a comment below as I value your feedback in a bid to keep providing you with better ideas and tips.